
An Introduction to Sewing Machine
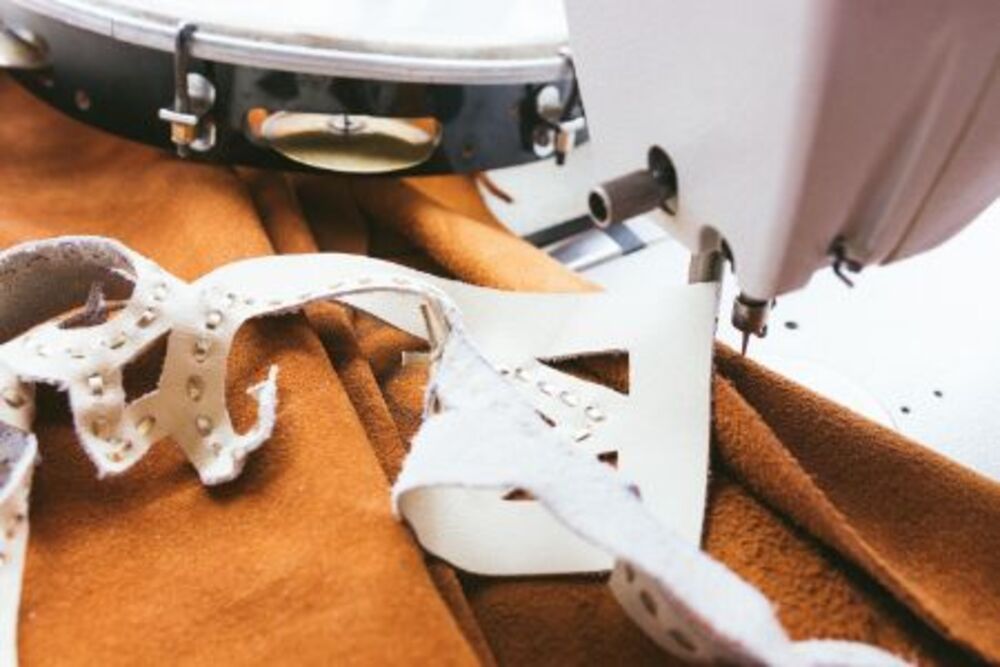
Thomas Saint of England obtained the first sewing machine patent in 1790; designed specifically to stitch leather and canvas materials. Although heavy at that time, this device eventually evolved into what we know today as modern machines.
Threading
Over my years of sewing, if there is one thing I have learned it is the importance of setting up and threading my machine properly – one of those little details which will have a lasting effect on how beautiful your sewing is later on!
Start by placing your thread spool on the spool pin (a small metal wheel attached to a spool cap that typically comes included with your machine in an accessories box), passing it down through one thread guide pictured below – usually just a plastic ring that keeps bobbins from falling off of bobbin pins – before moving on to passing it through your bobbin case, which is simply a metal space that holds one or more bobbins until you drop them inside it.
Learning how to operate a sewing machine can be intimidating. For the beginner, creating a framework that supports building essential component skills is vital. Check out for the best embroidery machine for beginners.
Pull the bobbin up through the space, and pull it back down through again (it may take practice!). Place the bobbin pin through the hole at the bottom of your case before adding your plate over top of it – and now you are ready to stitch!
To get your machine moving, press the foot pedal (which resembles the gas pedal of a car). This controls how fast or slow your machine goes; so start out slow at first before gradually increasing speed as you become more familiar with it. To move needle up or down quickly use the hand wheel on the right side of the machine; this helps move fabric into position before stitching begins or remove needle from fabric at seam’s end; additionally this is a handy way of controlling how hard needle presses through fabric – the hand wheel also controls foot pedal pressure levels which controls how hard needle hits fabric.
Winding the Bobbin
The bobbin is the spool that contains thread for stitches, so its proper winding is crucial to successful sewing. Most sewing machines offer built-in bobbin winding capabilities you can activate by pressing a button or lever; however, many people find manually winding a bobbin easier.
Once located, locate and assemble the bobbin pin – this cylindrical piece should fit the hole in your bobbin of thread perfectly – on either the top or side of your machine. After attaching your thread spool securely to it with its cap in place.
Next, place the thread through the right bobbin tension disk (located on the right side of your machine). Pull tightly and push up against its top disc – this will keep the thread securely in place, enabling it to be wound around its bobbin easily.
As soon as your bobbin is full, stop winding and cut the thread leaving about four inches for a tail. Slide out of spindle and push to left to remove from machine.
Winding the bobbin should always use thread of matching color, and be sure that it was intended to go on a bobbin. Store-bought “bobbin thread” is typically meant for embroidery or basting and should not be used with your regular sewing machine. Be sure to have several empty bobbins ready so you can swap out when necessary; this is particularly helpful when working with different fabrics or types of thread. Additionally, sign up below for the Cucicucicoo Newsletter so you can gain access to free downloads such as craft templates and sewing patterns! You will receive a link as well as password that gives access to their exclusive area!
Thomas Saint of England obtained the first sewing machine patent in 1790; designed specifically to stitch leather and canvas materials. Although heavy at that time, this device eventually evolved into what we know today as modern machines. Threading Over my years of sewing, if there is one thing I have learned it is the importance…